Editing XiPay Payment Configurations
The following procedure provides steps for editing Payment Configurations in XiPay. A 'blue circle 'C' icon beside a section name or field is an indicator that changes in that section/field will trigger a certification. Hover over the icon to display the warning message.
The following is an example of typical setup fields. Notice the blue circle 'C' icons indicating fields that will trigger certification if changed.
Procedure
-
Go to Settings > Services > XiPay (XiPay). NOTE: If your organization has multiple merchants, double click a merchant line to select.
-
Select the Payment Configuration to be edited.
-
Click the edit tab.

-
The Payment Configuration screen displays the Configuration tab. Enter edits in the appropriate fields:
-
Settings:
-
Name – The name of the payment configuration.
-
Environment – Development (DV), Quality Assurance (QA), or Production (PR).
-
-
Processor & Fraud Support
-
Cartridge: Name of the payment processor. Checkbox: option for Using the Test Cartridge (Null) - applicable for QA only.
-
Fraud Provider: Name of the fraud provider. Checkbox option for Using the Test Fraud Provider - applicable for QA only.
-
-
XIID Configuration (Warning: This section has the blue circle 'C' icon. Changes to any field in the XIID Configuration section will trigger certification.)
-
Process Level – The highest processing level for this XIID. You can put any details regarding this item in the Integration Notes, if needed. For example, if you are implementing more than one payment type and Level 3 is only specific to one of them, you would indicate this in the integration notes section.
-
Payment Type(s)
-
Add'l Payment Type(s)
-
Transaction Type(s)
-
Currencies
-
Processing Capability – Complete if applicable.
-
-
Token Aware – Select checkbox if applicable.
-
Sales – Select checkbox if applicable.
-
Payment Origination (Warning: This section is marked with a 'blue circle C' icon. Changes to any field in the XIID Configuration section will trigger certification.)
-
Auth – Select all that apply, at least one is required.
-
Settle – Select all that apply, at least one is required.
-
Manual – Select all that apply, at least one is required. Select Virtual Terminal minimum if out of scope for your source systems.
-
Credit – Select all that apply, at least one is required. Select Virtual Terminal minimum if out of scope for your source systems.
-
Pre-Auth – Not required, select if in scope.
-
-
Routing
-
Routing Merchant ID
-
-
Integration Notes – Enter integration notes as needed. Include details to clarify your payment integration such as Level 3 for Visa/MC.
-
-
Web GUI (Virtual Terminal) Settings tab:
-
Payment Types – Populated from the XIID Configuration.
-
Enter payment type Values for example, MC and VI.
-
Credit Max – Default is -100000.
-
Debit Max – Default is 100000.
-
-
-
Setup tab:
-
Click inside a field to display additional information and details in the Help column.
-
Enter edits for any of the Required (R) and Optional (O) fields. Warning: Changes to any fields marked with a 'C' in a blue circle will trigger certification.
-
-
When finished with edits, click the Save or Save & Back to save the changes.
-
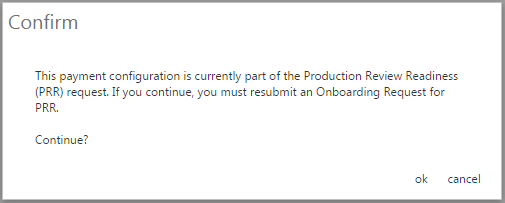
A 'Recertification Warning' is displayed if you have made changes to any fields that require re-certification. Click OK to continue.
-
The Certification status for the Payment Configuration that was edited is updated to Modified.